Showing posts with label String Quilt. Show all posts

Monday, May 17, 2021

String Star Quilt

I am going to try and link to an old post to a String Star Tutorial. Hopefully it works! I was going through some old pictures in my Google Cloud hoping to find anything that needs finishing so I can locate it and get it finished up. Many UFO's have been finished and either gifted or donated, but I have a suspicion there are some more hanging out somewhere that need to be finished and moved along. I did find a picture of the String Star Quilt I did a tutorial on in 2016. It's finished, and it is one of my favorites. I kept it and continue to use it even though the black shows dog fur like crazy.


I had put it on the bed to tie off and bury the ends, and it turns out it's the only picture I can find of it. I will need to get a better picture when I get it out this winter. When I was looking for pictures, I found some other string projects.


I'm quite sure there have been many more over the years. They are always a favorite with me.

Friday, May 27, 2016

String Star Tutoral, Part 2

I'm happy to say I completed 5 blocks in less than an hour last night. The construction is pretty mindless once all the background squares are marked and ready to go, and while I'm not always into mindless sewing, it's pretty therapeutic after a long day at work. 


Here are the instructions for how I added the strings to the background squares:


Lay the first strip against one of the drawn lines, right sides together. Note the white line is not the stitching line, it's just a guide for placement of the strip. The stitching will be 1/4" from that edge. Remember the 3-1/4" measurement? The reason I added the quarter inch was to accommodate the seam allowance. The sewn strip will actually be 3" from the corner.  I pinned the strip down so it wouldn't shift under the presser foot.

Once the stitching is completed, iron the strip open:

One thing to remember: don't skimp on the pressing. The strips need to be very flat before the next one is added.

Do the same thing on the other drawn line:

Right sides together, and placed just inside the white line. Then add the next strip to the outside of the previous one:

I drew a pink line of the last picture to show which edge to stitch. After stitching, open the strip out, and press it. Keep adding strips until the black on the sides is completely covered.

At this point, I didn't try to trim them to the correct size, but I did some rough trimming (about 1/4" outside the black square) just to reduce the bulk.

I'm really pleased with the way they are turning out and can't wait to get some more done!

Stay tuned for more progress. By the way, it you try this tutorial, leave me a comment and let me know how it worked out for you. Feedback is good! I'd love to see pictures of your blocks and will post them here if you want to email them to me.


Thursday, May 26, 2016

String Star Tutorial


I have this picture pinned to my Pinterest board, and there's something so attractive about it, I must have looked at it dozens of times.

Photo from:

I have tried to find tutorials for the blocks, but all the pictures I have pinned take me to a site or blog that references a book called "String Quilt Revival".  I'm sure it's a wonderful book, but I really can't convince myself to buy it yet. Anyway, I'm pretty sure I can figure this out myself. I'll post the steps so (1) I have something to refer back to if it becomes a UFO (not that unlikely), and (2) so anyone else who wants to make their own won't have to figure it out for themselves.

I did find a Nancy Zieman tutorial where she cut kite shapes from her solid fabric and added strings to the sides, but I think it would be easier to cut solid squares and just mark where to start adding string strips. So, what size squares? I decided to cut them 8", mainly because I figured removing the selvedges from my solid fabric would leave me about 40" of usable fabric, and 8 goes into 40 exactly five times. Four of the 8" blocks sewn together to make the star pattern will give you a block that finishes at 15", so again, another easy measurement to work with.

Step 1 would be to cut 8" strips from whatever fabric you are using for the background. Mine is black:


Then remove the selvedges and subcut into 8" squares.


Using a white chalk pencil, I marked one corner of each square 1/4" from each side:

Turn the square to the opposite corner and mark the two sides 3-1/4" down from the corner. This is one of those times when a picture is worth a thousand words. Hopefully the white chalk marks show up in the pictures:

Once you have four marks connect them by using your ruler to make straight lines as shown in the next picture.
This is all a little time-consuming with the marking, but my reasoning is that once I take the time up front to get the squares made, I can sit down and just sew, sew, sew.

That's probably enough for now; check back in a few days, and I should have something posted on how to add the strings.

Update: I was asked how I chose the measurements for marking the blocks. The 1/4" in the first corner is so the strips will overlap, and you won't lose those nice, sharp points when joining the squares together. The 3-1/4" measurement was just a nice, middle-of-the-road choice that is entirely up the maker. If you want star points that are skinnier or fatter, you could decrease or increase that measurement. You may want to try a few variations to see what is most pleasing to you.


Monday, May 2, 2016

A Little Progress

Progress is good in any amount. I finished the quilting on this one

I still need to square it up and get it bound.

I really, really, really need to clean up my sewing room. My friend Alan came over Saturday and helped me do some reorganizing. I really appreciated his help, and we found some more tops that need to be completed. We made a quick trip to Hancock's to get some backing fabric for the tops we located. Now they are in line to be quilted (and finished!). Hancock's is closing and has every thing on clearance, but the quilting cottons are only down to 40%. I asked Alan what we were going to do when Hancock's closes, and he said, "Use our stash!" Good answer, but still, it's been so convenient to just run over there when I need anything. I'm dreading not having a fabric store in town.

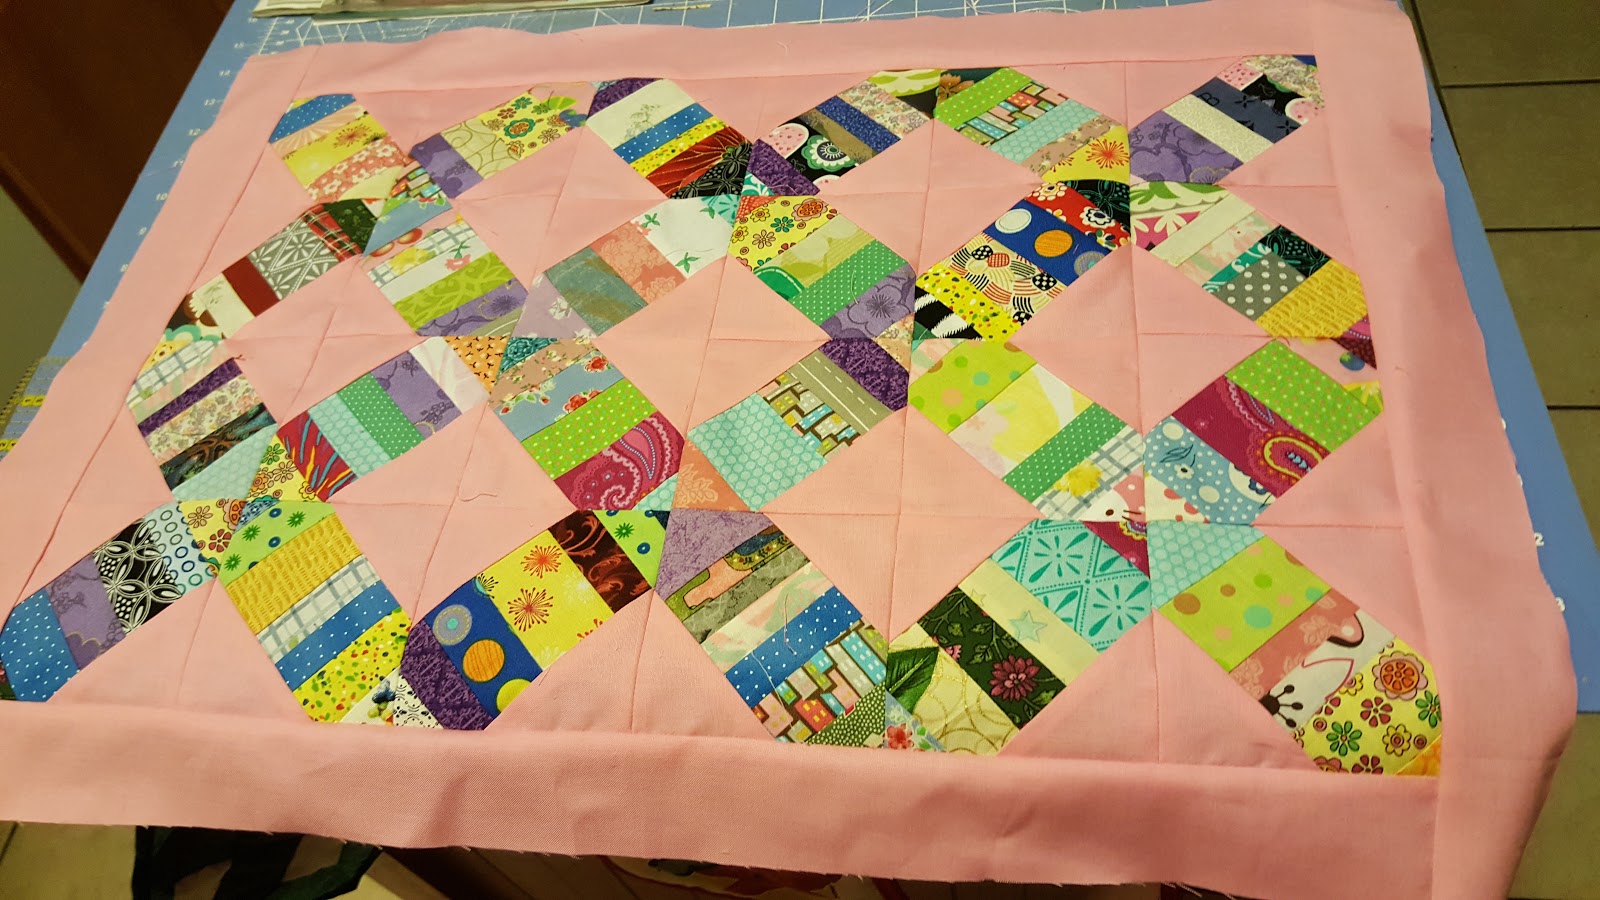
This evening, I got my little doll quilt sewn into a flimsy.

It's not perfect, but it's pretty cute. Next, I need to cut some binding for one of the quilts that's waiting in line to be finished.